
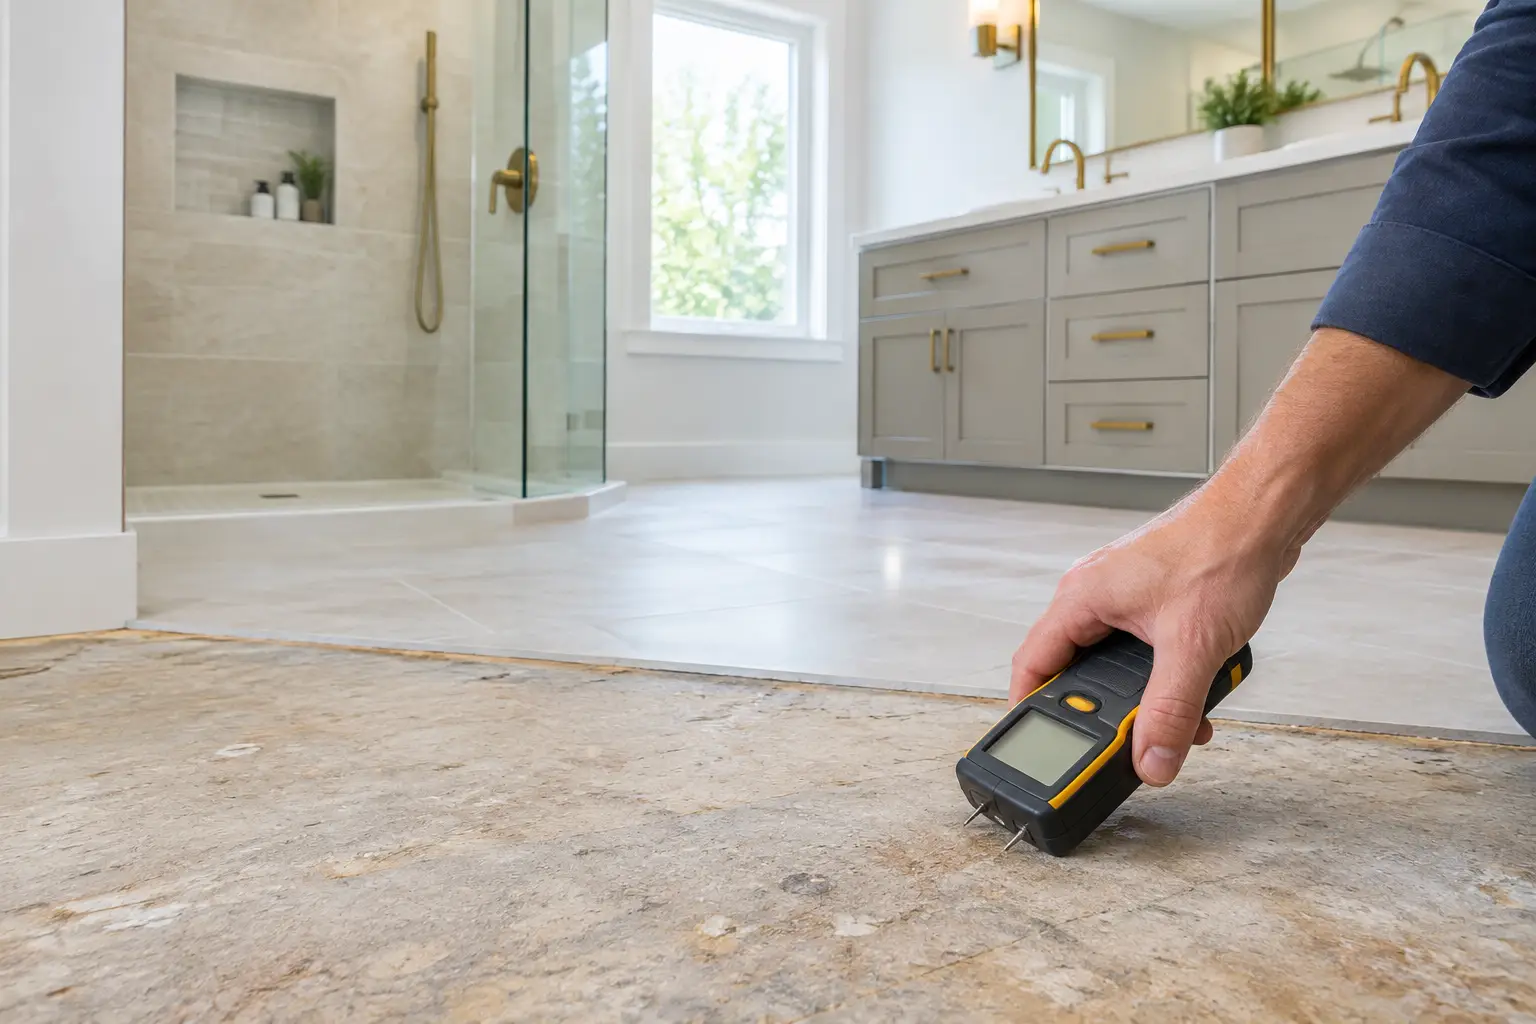
A new tile floor cannot solve a wet subfloor. In fact, it can hide the warning signs until moisture damages framing, stains the ceiling below, loosens tile, or creates a musty smell that returns after the remodel. Knowing how to inspect subfloor moisture before work begins helps you decide whether a bathroom needs a straightforward update or a deeper repair behind the finished surfaces.
For most homeowners, the short answer is this: look for visual damage and movement first, then use a moisture meter to compare suspicious areas with dry areas of the same floor. A reading alone is not a diagnosis. The source of the water, the type of subfloor, and whether the material has dried all matter.
Start With the Signs You Can See and Feel
Before anyone removes tile or opens a ceiling, inspect the bathroom and the room below it. A soft spot near a toilet, tub, shower curb, vanity, or exterior wall deserves attention. So does tile that has cracked along a grout joint, a floor that feels lower around the toilet, or vinyl flooring that has curled at the edges.
Look below the bathroom if there is a finished room, basement, or crawlspace underneath. Brown ceiling stains, peeling paint, swollen trim, dark rings around plumbing penetrations, and a persistent odor can point to an old or active leak. In New Jersey homes built from the 1920s through the 1990s, it is common to find several layers of finished flooring covering a problem that began years earlier.
Do not assume every stain means the subfloor is currently wet. A plumbing repair may have stopped the leak long ago. On the other hand, a dry-looking surface can still hold elevated moisture inside plywood or oriented strand board. That is where a meter helps.
How to Inspect Subfloor Moisture With a Meter
A moisture meter is a useful screening tool, not a substitute for opening a damaged area when the evidence calls for it. Pin meters use small probes and generally give a wood moisture-content reading. Pinless meters scan below the surface and are useful for comparing a broad area, but their readings can be affected by tile, metal mesh, fasteners, dense materials, and flooring layers.
The most useful approach is comparison. Take readings in an area that appears dry, then test around the toilet flange, shower entry, tub edge, vanity supply lines, and any soft or stained area. Keep the meter settings consistent and record the locations. A suspicious area that reads materially higher than nearby dry wood needs further investigation.
For exposed wood subfloor, readings in the low teens are commonly consistent with dry interior conditions, though the baseline changes with the season, house humidity, and meter type. Readings that remain elevated after the room has had time to dry may indicate trapped moisture or an active source. Do not rely on one universal cutoff. A 16% reading in one house is not automatically a demolition decision, while a much higher reading beside a leaking toilet should not be ignored.
If tile is still in place, readings through the finish are less definitive. In that situation, visual clues, plumbing testing, and access from below often tell a clearer story than a meter pressed onto porcelain tile.
Check the Likely Leak Paths
Bathrooms rarely leak in the middle of an open floor for no reason. Start with the places where water enters or exits the room: the toilet wax ring or seal, supply valves, drain connections, shower plumbing, tub overflow, and shower door or curtain area.
A shower can also leak through failed grout, cracked caulk, or an improperly built shower assembly. Grout is not waterproofing. Tile and grout are finish materials. The waterproof layer behind or beneath them, along with correct drain detailing and floor slope, determines whether water stays in the shower system.
Run fixtures one at a time while someone checks below, if access is available. A leak that appears only when the shower is running may be different from a leak that appears after the toilet is flushed. If there is an accessible ceiling below, a contractor can often narrow down the source before demolition. Avoid opening walls or disconnecting plumbing yourself, especially in an older home where lead-based paint may be present. Homes built before 1978 require appropriate lead-safe work practices when painted surfaces are disturbed.
Know What the Subfloor Is Made Of
The repair decision depends heavily on the material under the finish floor. Plywood often shows dark staining, delamination, or soft, separated layers after repeated water exposure. OSB can swell at edges and lose its original thickness. Older homes may have plank subfloors, sometimes with plywood added over them during a previous renovation.
A dark stain is not always structural damage. Probe the exposed material carefully during demolition and assess whether it remains firm. The concern rises when the wood crumbles, flexes under normal foot pressure, has swollen edges, or no longer holds fasteners securely. A bathroom floor must support not just tile, but the concentrated weight of a vanity, toilet, tub, and people using the room every day.
The framing below matters too. A small leak localized around a toilet may require a limited subfloor patch. Long-term water exposure around a shower can affect joists, blocking, insulation, and the ceiling below. The correct scope should follow what is actually found after finishes come out, not what looks easiest from the surface.
When Moisture Means You Should Pause the Remodel
A remodel should pause for correction when the moisture source is active, the subfloor is soft or swollen, mold-like growth is visible, or the floor structure has been compromised. Installing backer board, uncoupling membrane, LVP, or new tile over damp material does not solve the cause. It can make future access harder and allow damage to continue out of sight.
The sequence matters. First stop the leak. Then remove damaged finishes as needed, allow the assembly to dry, replace material that has lost strength, and confirm the framing and floor plane are suitable for the new installation. Only then should waterproofing and finish work begin.
This is especially relevant for curbless showers and tub-to-shower conversions. A curbless entry needs precise floor planning, waterproofing continuity, and a properly sloped shower area. If the existing floor has moisture damage or uneven framing, those conditions need to be addressed before the shower system is installed.
At GUS SKYY Co, a bathroom remodel begins with understanding what is behind the existing finishes, not just selecting tile. Schluter waterproofing goes behind every shower we build because the visible surface is only one part of a bathroom that needs to manage water correctly. In a primary bath we finished in Stewartsville, the scope included removing failed finishes and rebuilding the shower assembly so the waterproofing, drain area, and tile work functioned as one system.
Questions to Ask During a Bathroom Estimate
A clear estimate conversation should include what happens if hidden moisture damage appears after demolition. Ask how the contractor documents conditions, who communicates scope changes, and whether subfloor repairs are priced separately by phase when they cannot be confirmed before opening the floor.
You should also ask how the shower will be waterproofed, how the shower floor will be sloped to the drain, and how ventilation will be handled. A properly sized, ducted bath fan helps reduce everyday humidity, but it will not correct a plumbing leak or failed shower waterproofing.
Township permit requirements can also affect the scope when plumbing, electrical, or structural repairs are involved. Requirements vary across Essex, Morris, Union, Somerset, Bergen, Monmouth, and Warren counties. A contractor should review the planned work and explain what permits apply before construction begins.
A Better Way to Plan for What You Cannot See
No one wants a surprise after demolition, but older bathrooms often keep their history under tile and subfloor layers. The practical goal is not to pretend hidden damage is impossible. It is to inspect carefully, identify warning signs early, and have a written process for handling conditions that only become visible once the room is opened.
GUS SKYY Co is registered and insured under NJ Home Improvement Contractor reg. #13VH10766600. We provide a clear written scope, price work by phase before it starts, and keep one point of contact from demolition through final walkthrough. If you are planning a bathroom remodel and want the existing floor evaluated as part of the scope, request a free in-home estimate.