
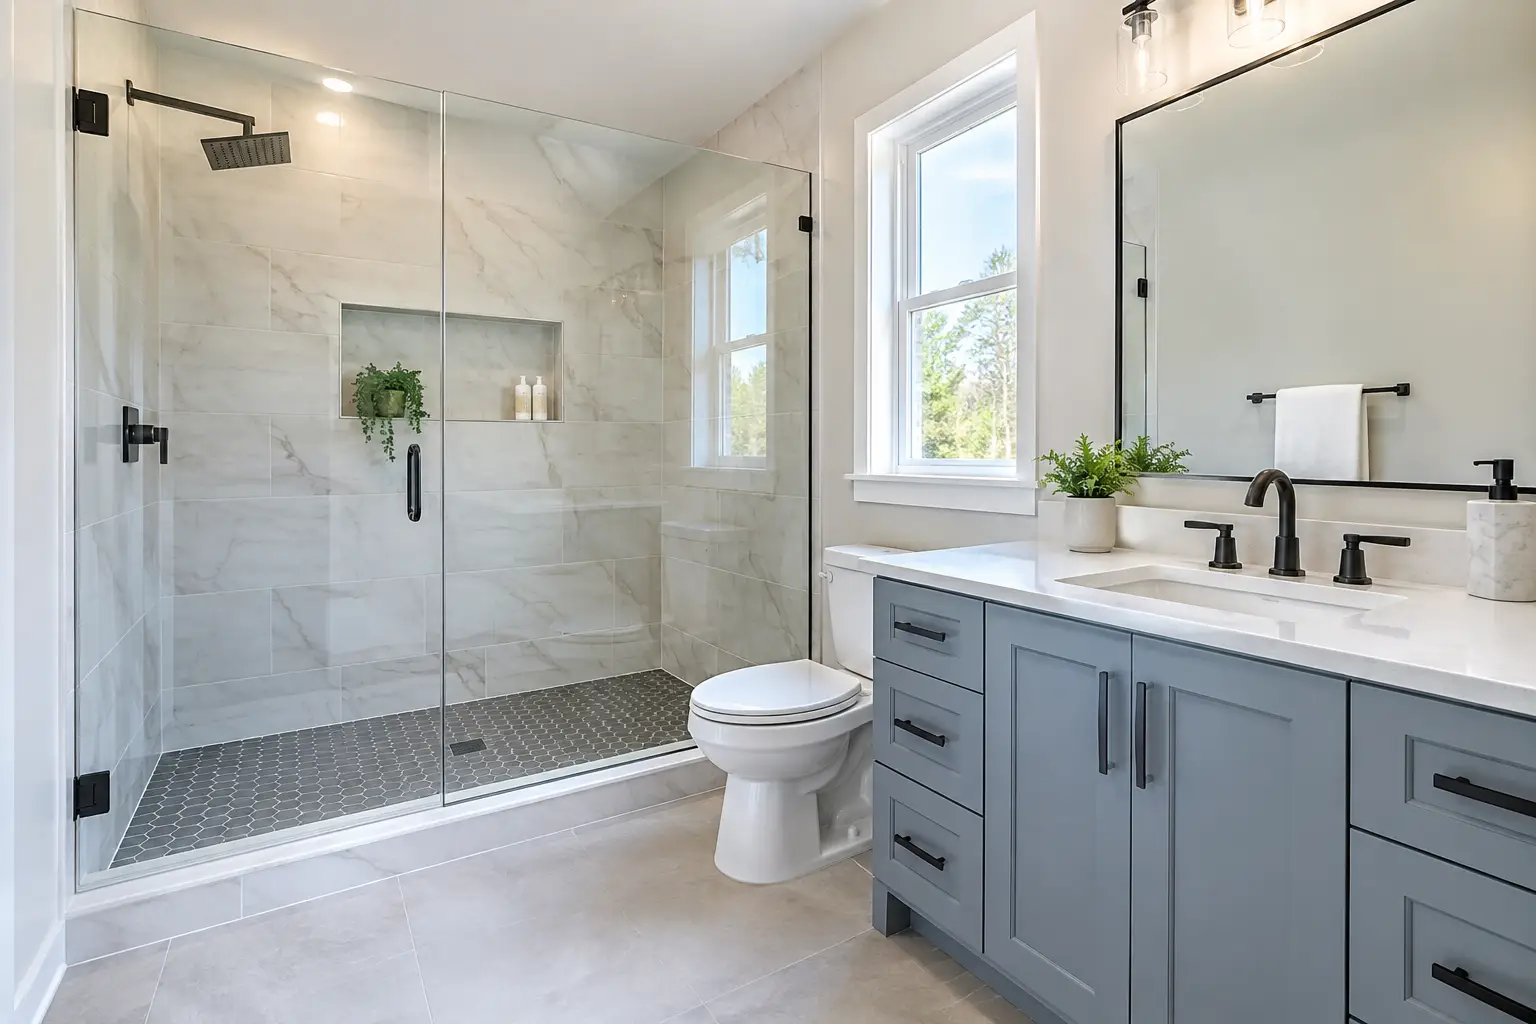
If you are planning a tiled shower, the question is simple: will shower waterproofing keep water out of the walls and floor structure after the tile is installed? It should. Tile, grout, and caulk are finish materials, not the waterproof layer. The protection that matters sits behind and beneath them, where you cannot see it once the bathroom is complete.
A shower can look finished for years while moisture slowly reaches drywall, framing, subflooring, or the ceiling below. That is why waterproofing deserves the same attention as tile selection, a custom vanity, or the layout of a new walk-in shower. It is the work that protects the rest of the bathroom.
What Shower Waterproofing Actually Does
A properly built tiled shower is a complete system. Water that passes through grout joints or reaches a corner must be directed back into the shower and toward the drain. It should never reach wood framing, wallboard that is not rated for wet areas, or the floor assembly below the shower pan.
The waterproof layer may be a sheet membrane, liquid-applied membrane, or a coordinated manufacturer system. At GUS SKYY Construction, Schluter waterproofing is installed behind every shower we build. This system-based approach matters because the wall membrane, shower tray or mortar bed, drain connection, inside corners, seams, curb, and pipe penetrations are designed to work together.
The membrane is only part of the answer. A shower also needs the correct slope to the drain. Water should move toward the drain rather than collect in low spots at the perimeter, against the curb, or under the tile. The drain connection must be sealed correctly, and every change of plane needs careful treatment before tile begins.
Tile and Grout Do Not Stop Water
Homeowners often assume porcelain tile and grout create a water barrier. Porcelain absorbs very little water, which makes it a practical shower surface, but grout joints and movement joints are not waterproof. Even sealed grout is not a substitute for a membrane.
Caulk has a role too. It is typically used where wall planes meet and where tile meets a tub, shower base, or countertop. But caulk is a visible finish joint. It cannot correct missing waterproofing behind the tile.
This distinction becomes especially relevant during a tub-to-shower conversion. Removing an older tub can expose water damage around the valve wall or at the floor. In homes throughout Essex and Morris County, we regularly find old tile installed over materials that were never intended to manage repeated shower exposure. The new shower should address what is behind the walls, not simply cover it with new finishes.
The Areas That Need the Most Attention
Waterproofing failures usually happen at transitions, openings, and connections rather than across the middle of a wall. These are the areas a contractor should plan carefully before setting the first tile.
The shower pan and drain
The shower floor is where water is concentrated every day. Whether the shower has a center drain, linear drain, tiled floor, or a low-threshold entry, the floor must slope consistently to the drain. The waterproofing must tie directly into that drain assembly so any water below the tile still has a clear path out.
Small-format mosaic tile is common on shower floors because its many grout joints help create traction and allow the tile to follow a sloped surface. Large-format tile can work in certain layouts, but it requires a drain placement and floor design that accommodate the tile size. Design should follow drainage, not fight it.
Corners, seams, and wall-to-floor connections
Every overlap, seam, and inside corner needs the same care as the main field of the wall. These connections are not decorative details. They are the places where separate surfaces meet and where movement can occur over time.
A proper waterproofing system uses compatible banding, corner pieces, and sealant at these transitions. The goal is continuity. Water should not find a gap at the point where a wall meets the shower floor or where the curb joins the walls.
Plumbing penetrations and niches
The shower valve, showerhead arm, body sprays, handheld slide bar, and other fixtures all create openings in the wall. Each opening needs to be sealed as part of the waterproof assembly. This is also true for shower niches.
A niche needs waterproofed corners, a protected bottom, and a slight slope toward the shower so water does not sit inside it. A large niche can be useful for family bathrooms, but it introduces more corners and edges to detail. Its size and placement should be decided early, along with the tile layout.
Curbs and low-threshold entries
A traditional curb must be waterproofed on its top, sides, and wall connections. Fasteners through the top or inside face of a curb can create a direct water path into the framing if they are not handled correctly.
For a curbless or low-threshold shower, the planning starts even earlier. The bathroom floor structure, drain location, tile thickness, and required slope all affect whether the entry can be built safely and cleanly. In older New Jersey homes, the existing framing may limit options or require additional preparation. A low-threshold shower is not simply a shower with the curb removed.
What Happens Before Waterproofing Begins
Good waterproofing starts with demolition and inspection. Once old tile, backer materials, or a tub come out, the crew can see whether the framing is sound, whether the subfloor has been affected by a past leak, and whether plumbing locations make sense for the new layout.
This is the stage when surprises are most likely, especially in bathrooms that have been remodeled more than once. Water damage behind old tile, out-of-plumb walls, uneven floors, and older plumbing can affect the scope. A clear written scope and a price by phase help homeowners understand what is planned and how concealed conditions will be handled if they appear.
The shower walls must also be prepared correctly before membrane installation. They need a suitable substrate, flat enough for the selected tile, and properly supported around niches and plumbing. Large-format porcelain makes wall preparation even more visible because a broad tile surface does not hide uneven framing.
Depending on the scope, a township permit may be required for plumbing, electrical, or structural work. Permit requirements vary by municipality, so they should be reviewed before construction rather than treated as an afterthought.
Questions Worth Asking Before Tile Goes Up
You do not need to supervise every construction detail, but you should understand the system your contractor plans to use. Ask whether the shower will have a complete waterproofing system, how the membrane connects to the drain, and how corners, niches, and plumbing openings will be sealed.
Also ask when the waterproofing will be reviewed before tile covers it. A flood test may be appropriate for a tiled shower pan after the waterproofing is complete and before tile installation. The exact process depends on the shower design, local requirements, and the products being used, but the principle is straightforward: testing is far easier before finishes conceal the work.
It is also reasonable to ask how the shower will be ventilated. Waterproofing manages direct water exposure. A properly sized exhaust fan helps manage humidity throughout the bathroom, reducing lingering moisture on painted walls, mirrors, cabinetry, and ceilings. Both matter.
Waterproofing Choices Affect the Finished Design
The right system supports the look you want, but it also sets practical limits. A large niche, a linear drain, a full-height tiled shower, a frameless glass enclosure, and a curbless entry can all be part of a well-built bathroom. They simply require coordinated planning.
For example, a linear drain can support a single-plane shower floor, which may make certain larger tiles possible. A center drain usually requires the floor to pitch from multiple directions. A curbless shower may improve access, but its floor transition needs careful planning to keep water where it belongs. These are design decisions with construction consequences.
In a primary bath we finished in Stewartsville, the shower scope included full-height wall tile and a carefully planned niche layout. The visible result was clean and simple. The less visible work was just as important: a continuous waterproofed enclosure, properly prepared walls, and drainage planned around the floor tile.
A Bathroom Built for the Years After Remodel Day
Shower waterproofing is not the part of a remodel that gets compliments first. It is the part that gives the tile, glass, fixtures, and cabinetry a chance to hold up without hidden moisture problems underneath. When comparing bathroom proposals, make sure the waterproofing method is named, the scope is clear, and the contractor can explain how the shower is protected at the drain, corners, curb or threshold, niche, and plumbing openings.
GUS SKYY Construction is NJ HIC Reg. #13VH10766600, registered and insured. NARI Certified Kitchen & Bath Remodeler (CKBR). NTCA member. Woman-owned. 4.9 stars on Google. Our team speaks English, Portuguese and Spanish. Floor & Decor Independent Installer since 2019.
If you are planning a shower remodel in Essex or Morris County, request a free in-home estimate. We will review the existing bathroom, discuss the shower design and waterproofing scope, and provide a clear path from demolition to final walkthrough.