
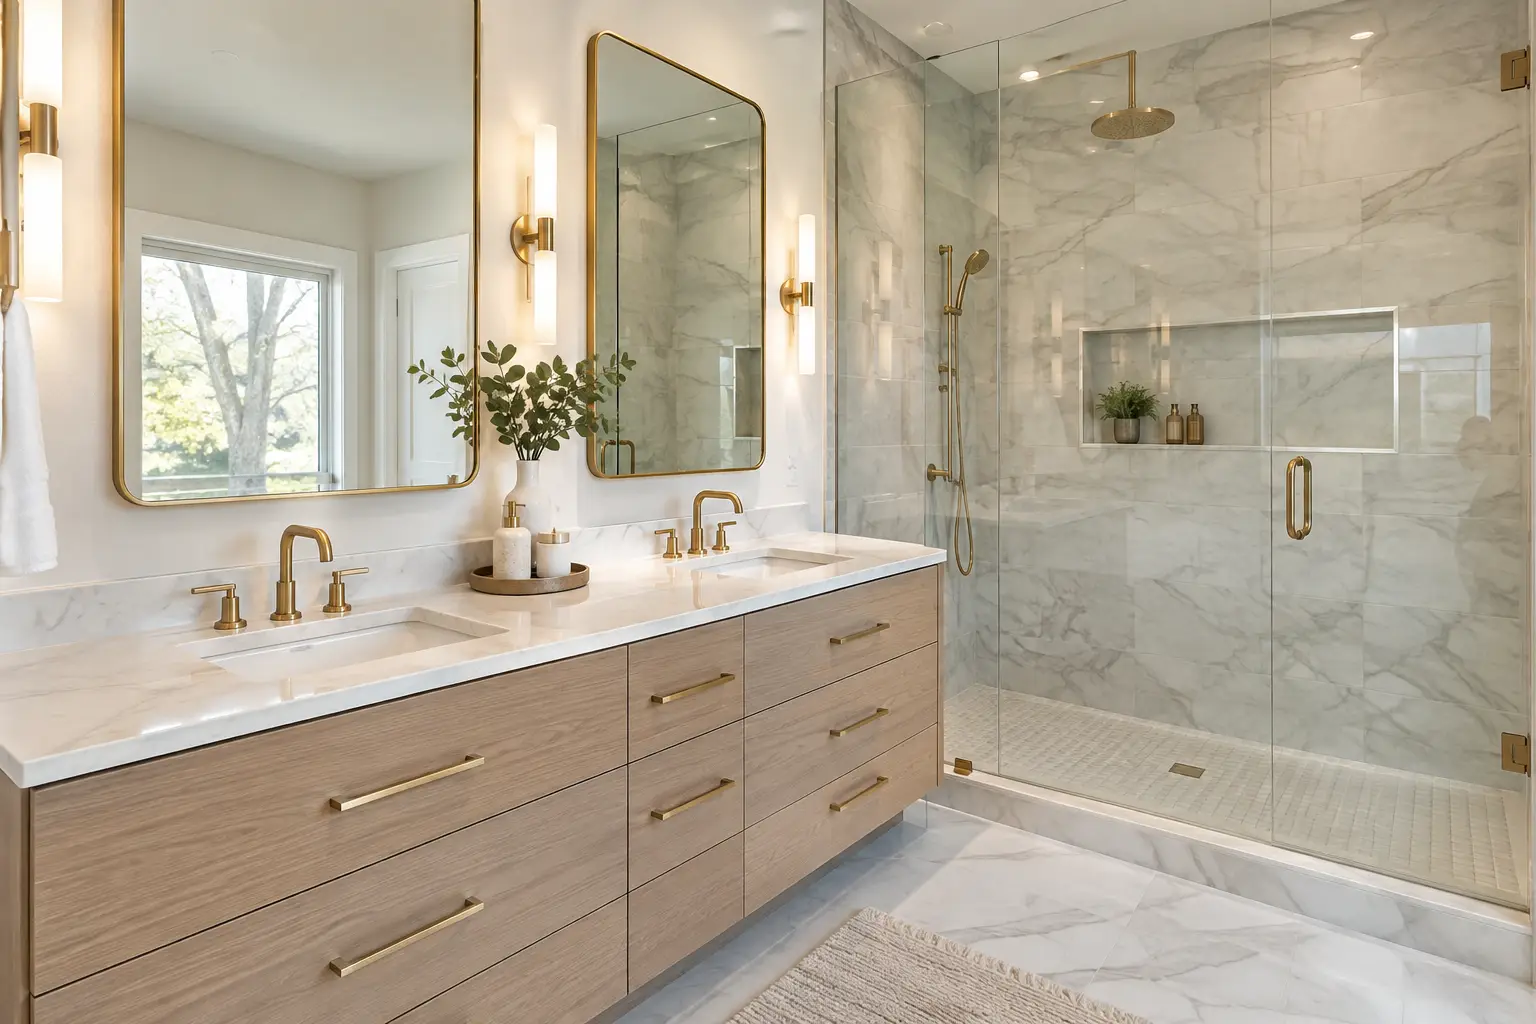
A luxury bathroom is not defined by the most expensive tile in the showroom. Luxury remodel finishes are the materials and details that feel considered every day, clean up without a fight, and still look right after years of hot showers, wet floors, and busy mornings. The difference is usually in the decisions behind the visible surfaces: where tile stops, how stone is sealed, whether metal finishes coordinate, and what protects the walls behind it all.
For New Jersey homeowners, this matters even more in older homes. A beautiful shower wall means little if there is water damage behind the original tile, an uneven subfloor under the new porcelain, or poor ventilation feeding moisture back into the room. Start with a finish plan that works with the room’s construction, not just a collection of samples that look good under showroom lighting.
What Makes a Finish Feel Luxurious?
A finish feels elevated when it has visual calm, proper scale, and practical durability. That can mean a full-height porcelain wall tile with a simple profile, a custom vanity that fits an awkward alcove, or a warm brass faucet used consistently across the room. It does not require every surface to be loud or rare.
The strongest bathroom designs usually give one material the lead role. In a primary bath, that may be large-format porcelain on the shower walls. In a smaller guest bath, it may be a well-proportioned vanity with a stone top and clean wall tile. Supporting materials should add texture without competing for attention.
This approach also helps when selections are made over several weeks. A homeowner may fall in love with a dramatic marble-look tile, a patterned floor, and a veined quartz countertop separately. Together, they can make a compact bathroom feel crowded. We help clients narrow the mix before installation begins, when changes are still simple.
Luxury Remodel Finishes Start Behind the Tile
Tile, grout, and fixtures are the visible finish layer. Waterproofing is the finish protection layer. Every shower we build includes Schluter waterproofing behind the tile because grout and tile are not waterproof on their own.
A shower also needs the right slope to the drain, properly detailed corners and penetrations, and a layout that accounts for niches, benches, and glass. These are not decorative details, but they determine whether the decorative work lasts. In homes built from the 1920s through the 1990s, demolition often reveals softened framing, old plumbing changes, or water damage around a tub surround. That can change the scope, but finding it before new finishes go in is far better than covering it up.
For a curbless shower, the planning is even more specific. The floor needs enough room for a proper slope while meeting the finished bathroom floor cleanly. Depending on the framing and existing layout, that may affect drain placement, floor preparation, and the tile size chosen for the shower floor. Small mosaics often work well there because their many grout joints follow the slope more easily than large tiles.
Choose Materials by Where They Will Be Used
Porcelain is one of the most useful finish materials in a bathroom because it handles water well, comes in a broad range of colors and patterns, and works on walls and floors. Large-format porcelain can make a shower feel quieter because there are fewer grout lines. It does require careful wall preparation and layout. A 24-by-48-inch tile shows an uneven wall much more readily than a small subway tile.
Natural stone brings variation that manufactured materials cannot fully copy. It can be a beautiful choice for vanity tops, floors, or a feature wall, but it needs an owner who accepts natural movement, occasional resealing, and a more deliberate cleaning routine. Some stones are more sensitive to acids, cosmetics, and hard water than porcelain or quartz. If low maintenance is the priority, porcelain and quartz are often the more practical answer.
For vanity countertops, quartz provides a consistent appearance and straightforward care. A natural stone top has more character, but every slab is different. Neither option is automatically better. The right choice depends on whether you want consistency, movement, or a surface that develops some character with use.
Wood-tone vanities deserve the same practical review. A quality cabinet finish can bring warmth to a room with porcelain and stone, but the vanity should be sized around clear walking space and door swings. In a tight hall bath, a 24-inch or 30-inch vanity may be more comfortable than forcing in a wider cabinet that crowds the toilet or shower entry.
Metal Finishes Need a Plan, Not a Perfect Match
Chrome, polished nickel, brushed nickel, brass, bronze, and matte black can all work in a luxury bath. The problem begins when each fixture is selected independently. A faucet, shower trim, mirror frame, vanity hardware, and light fixture do not need to come from the same manufacturer, but they should look intentional together.
Brushed finishes tend to hide water spots and fingerprints better than polished finishes. Matte black creates contrast and can look sharp with light tile, though it may show mineral residue in homes with hard water. Living finishes and unlacquered brass change over time. That patina can be appealing, but it should be chosen knowingly, not mistaken for a defect.
When a bathroom has both a shower system and a freestanding tub filler, confirm the available finishes early. Some collections have matching trim across every needed fixture. Others do not. Making this decision before rough plumbing helps avoid a last-minute compromise.
The Small Details That Change the Whole Room
Luxury is often read at eye level and hand level. Grout color, tile edge profiles, mirror proportions, and lighting placement make a bigger difference than homeowners expect.
A full-height tile installation can make an eight-foot bathroom ceiling feel taller, especially when the tile layout is centered and the cuts at the ceiling are planned. In a shower, carrying wall tile to the ceiling also protects more of the wall surface from steam and splash. Outside the shower, full-height tile is optional. It works well on a vanity wall or a feature wall, but a painted wall can provide visual relief in a room with a lot of tile.
Grout deserves careful thought. A close grout match gives large-format tile a continuous appearance. A contrast grout makes the pattern more visible, which can suit a classic subway tile layout but also makes installation lines more noticeable. Epoxy grout offers strong stain resistance in certain applications, while cement-based grout has a different appearance and maintenance profile. The selection should match the tile, the room’s use, and the look you want.
Lighting should be planned around faces, not just fixtures. Side sconces or well-placed vertical lighting reduce shadows at the vanity better than relying only on a ceiling fixture. A recessed shower light improves visibility, but it should be rated for the location and coordinated with the shower layout. Ventilation matters just as much. A properly sized exhaust fan helps protect paint, cabinetry, and finishes from repeated moisture exposure.
Where to Spend Attention First
If you are prioritizing decisions, focus first on the parts that are difficult to change later. That includes waterproofing, shower glass dimensions, tile layout, drain location, vanity size, and lighting rough-in. A mirror or towel bar can be changed later. Moving a shower valve after tile is installed is a different conversation.
Four areas deserve special attention during selection:
- Shower floor tile and drain placement, because safety and drainage come before appearance.
- Vanity storage, including drawer depth, outlet placement, and room for daily items.
- Tile scale, especially in small baths where large patterns or too many materials can overwhelm the room.
- Maintenance expectations, including sealing needs, water spotting, and the cleaning products a surface can handle.
Township permits may be required when plumbing, electrical, or layout changes are involved. In pre-1978 homes, lead-safe practices may also be necessary when painted surfaces are disturbed. These are normal planning items, not reasons to avoid a better layout.
A primary bath we finished in Stewartsville used full-height shower tile, a custom vanity, and carefully placed lighting to make the room feel more open without adding unnecessary materials. You can view finished bathrooms by county and scope in our Projects gallery.
At GUS SKYY Co, we begin with a free in-home estimate, a clear written scope, and a price by phase before work starts. You have one point of contact from demolition through the final walkthrough. We are registered and insured, NJ Home Improvement Contractor reg. #13VH10766600, registered and insured. NARI Certified Kitchen & Bath Remodeler (CKBR). NTCA member. EPA Lead-Safe Certified Firm (NAT-F269467-1). Woman-owned. 4.9 stars on Google. Our team speaks English, Portuguese and Spanish. Floor & Decor Independent Installer since 2019.
If you are choosing finishes for a bathroom remodel in New Jersey, bring your ideas, samples, and practical questions to a free estimate. We will help you sort out what will look good, work well, and make sense for the room you actually have.