
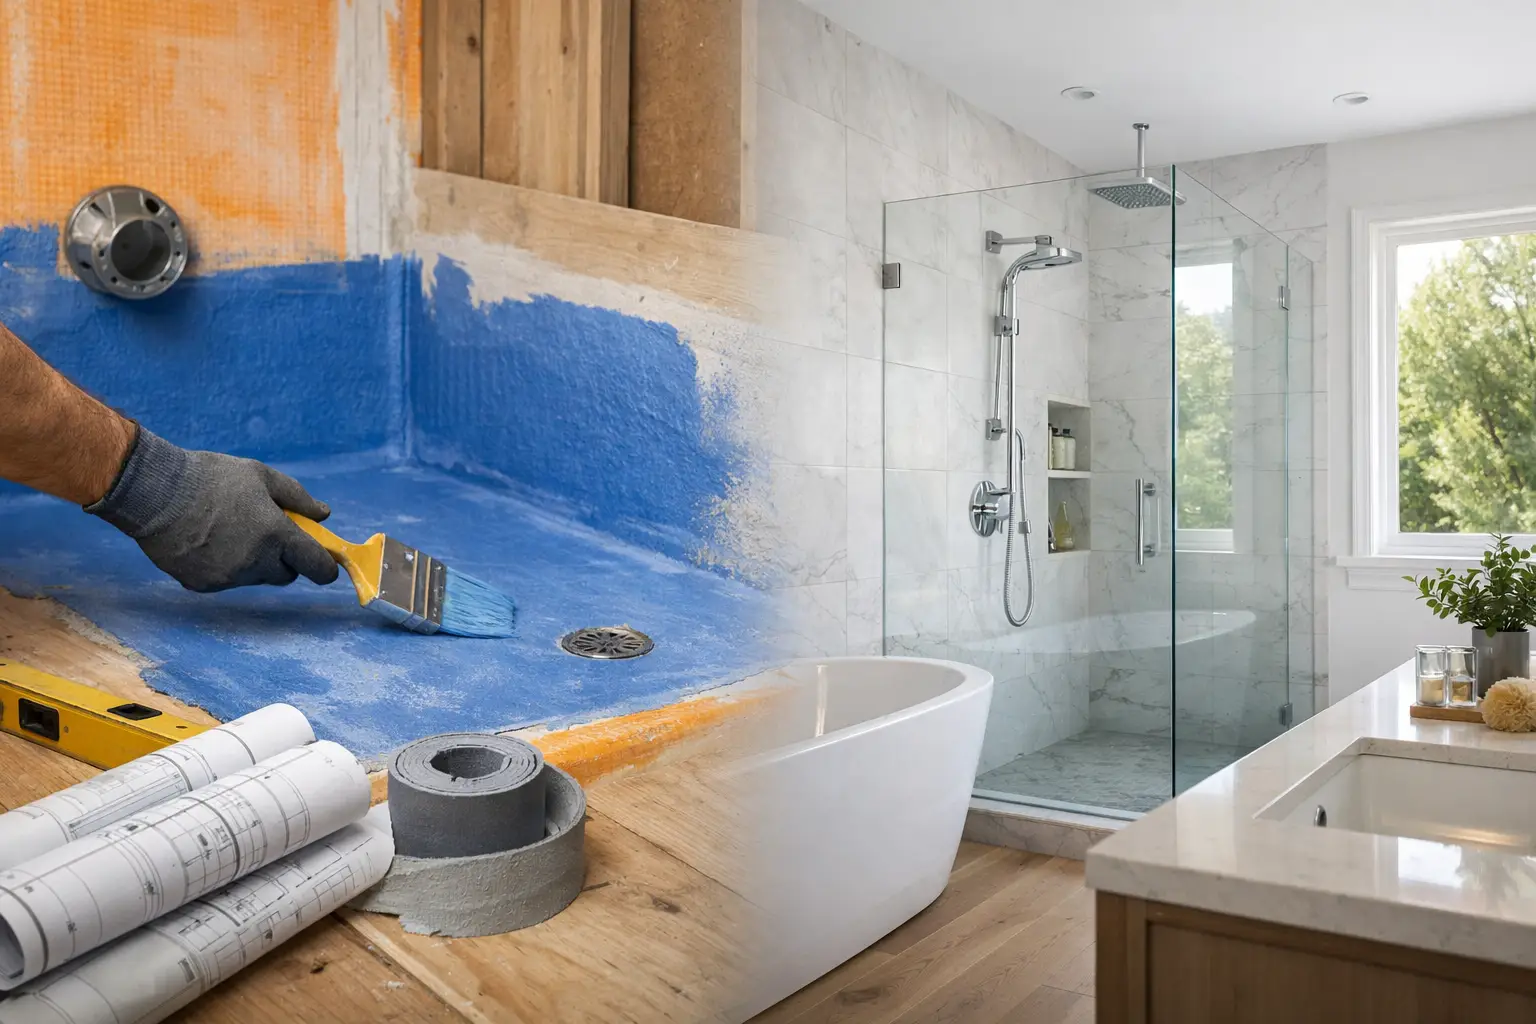
A shower can look finished on Friday and still be taking on water behind the tile by the following year. The failure is rarely visible at first. Water finds a missed membrane overlap, an unsealed pipe penetration, or a weak connection at the shower pan, then works into the wallboard, framing, or subfloor. That is why bathroom waterproofing is not a finishing detail. It is one of the structural protection decisions that determines whether a bathroom remodel holds up.
For New Jersey homeowners, the stakes are higher in older housing stock. A 1920s Maplewood bathroom may have uneven framing and several layers of prior renovation. A newer primary bath in Short Hills may have a large-format porcelain shower with multiple body sprays, niches, and a linear drain. Different homes, same requirement: the water-management system must be planned before tile is selected.
What Bathroom Waterproofing Actually Covers
Waterproofing is not grout, caulk, or tile sealer. Tile and grout are finish surfaces. They shed much of the water, but they are not the waterproof layer. A properly built wet area has a continuous waterproof assembly behind or directly beneath the tile, tied into the shower base and carried up walls and around every interruption.
In a typical shower, that assembly includes a properly sloped base, a drain system designed for the selected waterproofing method, membrane-covered walls, sealed seams, inside and outside corners, pipe penetrations, niches, and the curb or entry. The materials vary by system. The principle does not: water that gets behind the tile must be directed back to the drain, not into the building.
This is especially relevant for curbless showers. They can be clean and accessible, but they demand more coordination than a standard shower pan. The floor recess, drain elevation, slope, membrane transition, and adjacent bathroom flooring all need to work together. If the framing depth cannot support the required slope and drain body, the design may need to change before demolition begins.
The Details That Cause Most Failures
Most waterproofing problems are not caused by one dramatic mistake. They happen at transitions, where one plane meets another or where a fixture interrupts the membrane.
Shower Pans Must Be Sloped Before Tile
The shower floor needs positive slope toward the drain. A flat shower floor can leave standing water around the drain perimeter or at the far wall. In a traditional mortar-bed assembly, the waterproof layer must also be installed so water below the tile can move toward the drain’s weep paths. In a surface-applied membrane system, the membrane is directly under the tile and connects to a compatible bonding-flange drain.
Mixing parts from different methods without a clear system plan creates risk. The drain, membrane, corners, sealant, and substrate should be treated as one assembly, not a collection of products chosen after the walls are closed.
Niches and Benches Need Their Own Plan
A recessed niche is convenient, but it is also a framed opening inside a wet wall. It must be waterproofed continuously, with particular attention to the bottom surface. The sill needs to slope slightly toward the shower so water does not sit against the back edge.
Benches deserve the same attention. Whether framed on site or built from foam components, the top must slope toward the drain and the membrane must wrap every surface. Large-format tile does not eliminate these requirements. In fact, slab and oversized porcelain installations leave less room to disguise poor layout or incorrect pitch.
Plumbing Penetrations Cannot Be an Afterthought
Shower valves, body sprays, hand-shower outlets, and supply pipes all pass through the waterproof plane. Each opening needs an approved seal compatible with the membrane system. A loose cutout around a valve can allow repeated water exposure inside the wall, even when the tile work appears clean.
The same applies to glass-door hardware. A frameless shower enclosure should be coordinated with framing and waterproofing before tile installation. Fasteners should not be driven carelessly into vulnerable horizontal surfaces or through a shower curb where water can enter.
Why Tile Work Alone Is Not Enough
Homeowners often ask whether epoxy grout, sealed grout, or a premium porcelain tile makes waterproofing less critical. It does not. Those materials can improve stain resistance and day-to-day maintenance, but they do not replace a continuous membrane.
Caulk also has a limited job. It is used at changes of plane and selected fixture transitions because those locations move differently from the field tile. It requires inspection and eventual maintenance. It should never be the only line of defense holding water out of a wall.
A builder-honest conversation starts here: a bathroom can look excellent at final walkthrough while the concealed work remains unverified. The finished tile is not proof that the shower was built correctly. Documentation of the waterproofing system and a flood test are far more meaningful indicators.
The Flood Test Is a Checkpoint, Not a Formality
Before tile is installed, the shower pan should be tested by filling it to a safe level below the top of the curb or entry and monitoring it for leakage. The exact process and duration should follow the waterproofing manufacturer’s instructions and local inspection requirements.
A flood test is simple in concept, but it has real value. It tests the pan, drain connection, corners, and membrane seams while corrections are still accessible. Once tile, glass, and fixtures are installed, investigating a leak becomes demolition work.
In Essex, Morris, and Bergen County renovations, inspection practices can vary by municipality. Some townships want to see specific stages, while others focus on permit documentation and final conditions. A well-managed project identifies the applicable permit and inspection path early, rather than treating it as a surprise after the shower is framed.
Choosing the Right Assembly for the Bathroom
There is no single waterproofing method that suits every remodel. Sheet membranes, liquid-applied membranes, foam shower systems, and mortar-bed assemblies can all perform when installed within their tested specifications. The best choice depends on layout, drain location, tile size, wall condition, and how much correction the existing framing needs.
Sheet membranes provide consistent thickness and clear seam treatment, but require careful overlap and corner detailing. Liquid-applied products can work well across irregular surfaces, but thickness control matters. Applying too little material can leave a weak film; applying too much can affect curing. Preformed shower components can help with predictable slopes and integrated drains, but they still require accurate substrate preparation and compatible installation details.
For an older bathroom with out-of-level framing, preparation may be the main issue. Walls may need flattening before waterproofing so large tile does not telegraph unevenness. Floors may need repair or reinforcement before a heavy stone installation. Where structural modifications are required, Gus Skyy Construction coordinates structural design and sealing through licensed New Jersey engineers or architects.
Questions to Ask Before Construction Starts
Before approving a bathroom scope, homeowners should be able to get direct answers to a few practical questions. What waterproofing system will be used? How will it connect to the drain? Will the shower pan be flood tested before tile? How will niches, benches, curbs, and plumbing penetrations be sealed? Who is accountable for the work from substrate preparation through tile installation?
Those questions matter more than broad promises about craftsmanship. They also help compare estimates fairly. A line-itemized scope should identify the substrate work, waterproofing approach, shower base, drain configuration, tile installation, and glass coordination. If waterproofing appears as a vague allowance or is missing from the scope, the proposal is not detailed enough to evaluate.
This is where a design-build process earns its place. The tile layout, fixture locations, shower glass, lighting, exhaust ventilation, and waterproofing all affect one another. Moving a niche after the membrane is installed or changing to a linear drain after the floor is set can create unnecessary rework and schedule pressure.
Ventilation Still Matters After Waterproofing
Waterproofing protects the assembly during direct water exposure. It does not solve persistent humidity in the room. A bathroom exhaust fan needs to be properly sized, ducted to the exterior, and used long enough to remove moisture after showers. In homes with insulated exterior walls or colder winter conditions, poor ventilation can contribute to condensation, peeling paint, and mildew outside the shower area.
The practical goal is straightforward: contain liquid water at the shower, move humidity out of the room, and give concealed assemblies fewer chances to stay wet. That protects the tile investment, but more importantly, it protects the framing and finishes that are far more expensive to access later.
If you are planning a bathroom remodel in Livingston, Summit, Chatham, Montclair, or another North Jersey market, request an estimate through Gus Skyy Co’s estimate page. Bring the shower layout, tile selections, and fixture plan into the conversation early. Waterproofing is one decision that is much easier to build correctly than to repair after the room is finished.